Universal Heated Grips Handlebar Heater Hand Warm Grip Inserts Pads Winter Warmer 12V With Switch Light Heat Thermal Cover Resistant Tape Handle Bar Motorcycle Motorbike ATV Motor Bike
Product categories
- ATV A Arm (120)
- ATV A Arm Guard (91)
- ATV Accessories (854)
- ATV Air Filter (26)
- ATV Air&Oil Filters (274)
- ATV Axle (132)
- ATV Axles (1477)
- ATV Ball Joint (155)
- ATV Basket (1)
- ATV Battery Chargers (29)
- ATV bearing (1)
- ATV Bearing Carrier (80)
- ATV Bearings (222)
- ATV Belt (1)
- ATV bike set (1)
- ATV Body (123)
- ATV bolt (1)
- ATV Boot Kit (1)
- ATV Brake (1)
- ATV brake pads (1)
- ATV Brakes (302)
- ATV brush (1)
- ATV Bushings (241)
- ATV Cable (513)
- ATV Camshaft (505)
- ATV Carburetor (310)
- ATV Cargo Bag/Luggage (181)
- ATV Chain (120)
- ATV clamp (8)
- ATV clutch (6)
- ATV clutch bell (1)
- ATV clutch pulley (1)
- ATV clutch roller (1)
- ATV cover (7)
- ATV Covers (169)
- ATV CV Boot Kit (2)
- ATV cylinder (10)
- ATV Drive Belt (231)
- ATV Drive Clutch (889)
- ATV Engine (41)
- ATV Exhaust (168)
- ATV Extension (1)
- ATV Fan (12)
- ATV Fender (3)
- ATV Foot Controls (24)
- ATV Foot Pegs (2)
- ATV Fuel Pump (62)
- ATV Fuel Tank (17)
- ATV fuel tank cap (2)
- ATV Fuel Tanks (5)
- ATV Gasket (79)
- ATV Gear box or reverse gear (6)
- ATV Graphics and Decals (2)
- ATV Handguard (52)
- ATV Handle (1)
- ATV handlebar (57)
- ATV Handlebars (221)
- ATV heater (1)
- ATV Heaters (3)
- ATV hooks (24)
- ATV horn (3)
- ATV Hub (2)
- ATV ignition (24)
- ATV Ignition Coil (183)
- ATV lanyard (1)
- ATV Lift Kit (65)
- ATV light (42)
- ATV Lighting (285)
- ATV Lock (1)
- ATV Mirrors (129)
- ATV Molded Roof (6)
- ATV Mounting Kit (9)
- ATV Pinion Shaft (19)
- ATV plug (2)
- ATV pump (4)
- ATV Rear Storage Box (1)
- ATV rearview mirror (12)
- ATV Rectifier/Regulator (39)
- ATV Seal Saver (1)
- ATV Seat Belt (10)
- ATV Seats & Covers (48)
- ATV Shaft (3)
- ATV Shock (3)
- ATV shock absorber (6)
- ATV Solenoid (223)
- ATV Spark Plug (4)
- ATV Sprocket (10)
- ATV Starter (193)
- ATV starter motor (28)
- ATV starter pull (1)
- ATV Steering Rack and Pinion (26)
- ATV Steering Wheel (8)
- ATV sticker (1)
- ATV strap (1)
- ATV Suspension (798)
- ATV Suspension Lift Kit (17)
- ATV Switch (234)
- ATV Tach/Hour Meter (28)
- ATV Throttle Control (79)
- ATV Tie-Downs (6)
- ATV Tires (2)
- ATV tool (36)
- ATV Tools (562)
- ATV voltage meter (1)
- ATV Wheels and Tires and rim (91)
- ATV Winches & Mounts (99)
- ATV windshield (1)
- ATV Windshields (12)
- ATV Wiring Harness (7)
- BLOG (2)
- pulley clutch (1)
Product tags
Universal Heated Grips Handlebar Heater Hand Warm Grip Inserts Pads Winter Warmer 12V With Switch Light Heat Thermal Cover Resistant Tape Handle Bar Motorcycle Motorbike ATV Motor Bike
Universal Heated Grips Handlebar Heater Hand Warm Grip Inserts Pads Winter Warmer 12V With Switch Light Heat Thermal Cover Resistant Tape Handle Bar Motorcycle Motorbike ATV Motor Bike
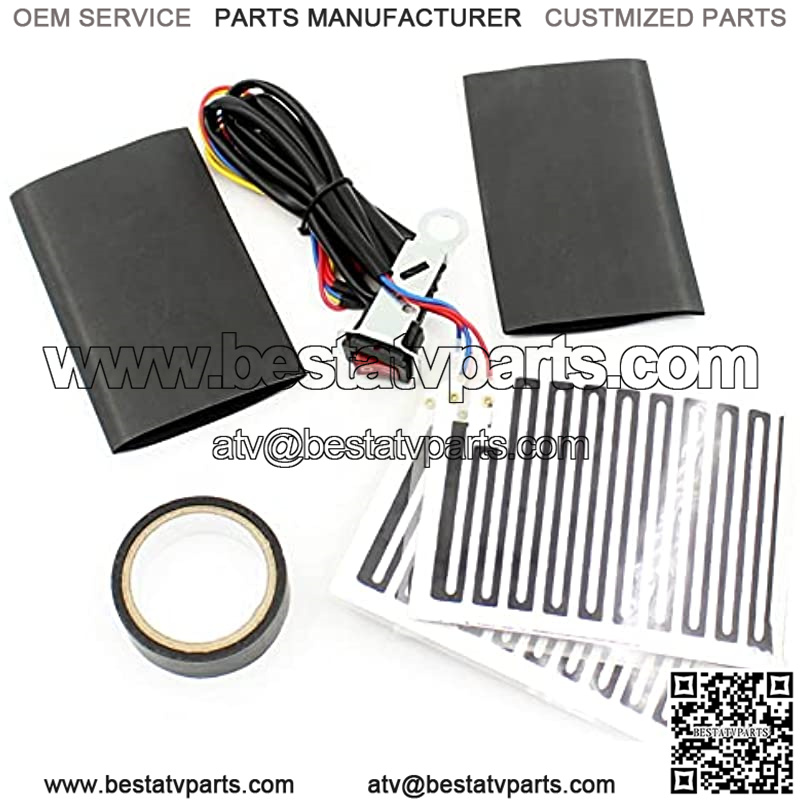
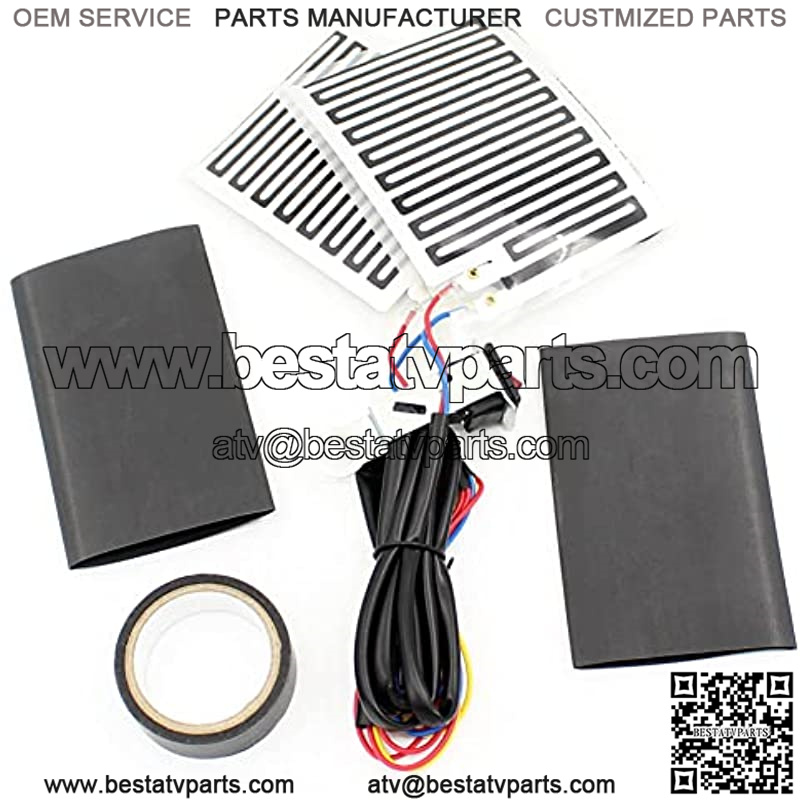
Brand new aftermarket motorcycle heated hand grip.
Fits: most motorcycles, ATV, motorbikes etc.
Power: DC 12V. Color: black. Pad dimensions: 90 x 87mm. With a on/off switch and switch light.
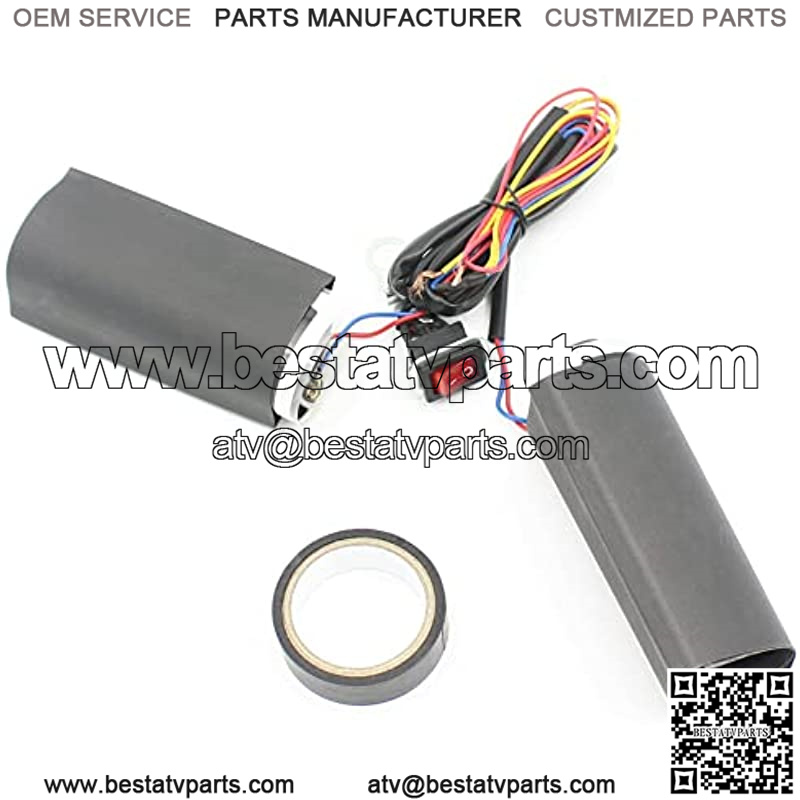
Package included: 2 x Heated grip pads (with connection wires and on/off switch). 2 x Heat resistant covers. 1 x Heat resistant tape.
??NOTE??We provide 90-DAY MONEY BACK GUARANTEE & 1 YEAR WARRANTY. We guarantee to REFUND your money or REPLACE if you encounter any problems with it.
Product description
Features:
New high-quality motorcycle heated hand grip.
Fits: most motorcycles, ATV, motorbikes etc.
Power: DC 12V.
Color: black.
Pad dimensions: 90 x 87mm.
With a on/off switch and switch light.
Benefits:
Keep your hands warm in cold weather.
Quick warm up time, low power consumption and long working life.
Self-adhesive feature makes them fit under your existing hand grips without any modifications.
Easy to install and operate, just need to wire this in to a positive wire from your ignition.
With a on/off switch, and all necessary bits and pieces to install these under your current handgrips.
If your bike doesn’t have a battery, just need to locate the DC regulator.
Package included:
2 x Heated grip pads (with connection wires and on/off switch).
2 x Heat resistant covers.
1 x Heat resistant tape.
Installation:
1. Place the heat plate on the right position.
2. Wrap the heat plate around to the handlebars evenly??especially at the junction with the heating plate.
3. Put on the jacket tube and adjust the position,using a hot-air gun blowing outer sleeve shrinkage uniformity.
4. Mount the switch in the rod of the rear view mirror.
5. Connect the power line. Line Red and Line Black are not divided into positive and negative,but must installed in the line control by the key door.
6. Please note that The interface between wire and heating plate must be wrapped tightly by tape, the form which hot air gun blow tube should be symmetrical. Wiring instructions aren’t included but you can find tutorials on the web and it should only take you 5 to 10 minutes to wire in. Alternatively, any mechanic or electrician would be able to help.
